绘图的时候最常用的是highgui
需注意的是:绘图填充 需要赋值thickness
thickness – 绘图边框的粗细. 负值(CV_FILLED = -1)
相关函数介绍
Point
该数据结构表示了由其图像坐标 和 指定的2D点。可定义为:
Point pt;
pt.x = 10;
pt.y = 8;
或者
Point pt = Point(10, 8);
Scalar
表示了具有4个元素的数组。次类型在OpenCV中被大量用于传递像素值。
本节中,我们将进一步用它来表示RGB颜色值(三个参数)。如果用不到第四个参数,则无需定义。
我们来看个例子,如果给出以下颜色参数表达式:
Scalar( a, b, c )
那么定义的RGB颜色值为:Red = c, Green = b and Blue= a
Rectangle
C++: void rectangle(Mat& img,Point pt1, Pointpt2, const Scalar&color, intthickness=1,intlineType=8, intshift=0)
C++: void rectangle(Mat& img,Rect rec, const Scalar&color, intthickness=1, intlineType=8,intshift=0 )
Parameters:
- img – 画矩形的对象
- pt1 – 矩形的一个顶点,左上角的.
- pt2 – 另一个顶点,右下角的.
- rec – 确定矩形的另一种方式,给左上角坐标和长宽
- color – 指定矩形的颜色或亮度(灰度图像),scalar(255,0,255)既可指定.
- thickness – 矩形边框的粗细. 负值(like CV_FILLED)表示要画一个填充的矩形
- lineType – 边框线型. (
8 (or 0) - 8-connected line(8邻接)连接 线。
4 - 4-connected line(4邻接)连接线。
CV_AA - antialiased 线条。)
- shift –坐标点的小数点位数
Line
C++: void line(Mat& img, Point pt1,Point pt2, const Scalar& color, int thickness=1, int lineType=8,int shift=0)
Parameters:
- img – 图像.
- pt1 – 线条起点.
- pt2 – 线条终点.
- color – 线条颜色.
- thickness – 线条宽度.
- lineType – 线型
Type of the line:
- 8 (or omitted) - 8-connected line.
- 4 - 4-connected line.
- CV_AA - antialiased line.
- shift – 坐标点小数点位数.
Circle
C++: void circle(Mat&img, Point center, intradius, const Scalar&color,intthickness=1, intlineType=8, intshift=0)
Parameters:
- img – 要画圆的那个矩形.
- center – 圆心坐标.
- radius – 半径.
- color – 圆边框颜色,scalar类型的
- thickness – 正值表示圆边框宽度. 负值表示画一个填充圆形
- lineType – 圆边框线型
- shift – 圆心坐标和半径的小数点位数
Ellipse
C++: void ellipse(Mat& img, Point center,Size axes, double angle, double startAngle, double endAngle, const Scalar& color,int thickness=1, int lineType=8, int shift=0)
C++: void ellipse(Mat& img, constRotatedRect& box, const Scalar& color, int thickness=1, int lineType=8)
Parameters:
- img – 椭圆所在图像.
- center – 椭圆中心.
- axes – 椭圆主轴一半的长度
- angle – 椭圆旋转角度
- startAngle – 椭圆弧起始角度
- endAngle –椭圆弧终止角度
- box – 指定椭圆中心和旋转角度的信息,通过 RotatedRect 或 CvBox2D. 这表示椭圆画在旋转矩形上(矩形是不可见的,只是指定了一个框而已)
- color – 椭圆边框颜色.
- thickness – 正值代表椭圆边框宽度,负值代表填充的椭圆
- lineType – 线型
- shift – 椭圆中心坐标和坐标轴的小数点位数
PolyLine
C++: void polylines(Mat& img, const Point** pts, const int* npts, int ncontours, bool isClosed, const Scalar& color, int thickness=1, int lineType=8, int shift=0 )
C++: void polylines(InputOutputArray img, InputArrayOfArrays pts, bool isClosed, const Scalar& color, int thickness=1, int lineType=8, int shift=0 )
Parameters:
- img – 折线所在图像.
- pts – 折线中拐点坐标指针.
- npts – 折线拐点个数指针.
- ncontours – 折线线段数量.
- isClosed – 折线是否闭合.
- color – 折线颜色.
- thickness – 折线宽度.
- lineType – 线型.
- shift – 顶点坐标小数点位数.
PutText
C++: void putText(Mat& img, const string& text, Point org, int fontFace, double fontScale, Scalar color, int thickness=1, int lineType=8, bool bottomLeftOrigin=false )
Parameters:
- img – 显示文字所在图像.
- text – 待显示的文字.
- org – 文字在图像中的左下角 坐标.
- font – 字体结构体.
- fontFace – 字体类型, 可选择字体:FONT_HERSHEY_SIMPLEX, FONT_HERSHEY_PLAIN, FONT_HERSHEY_DUPLEX,FONT_HERSHEY_COMPLEX, FONT_HERSHEY_TRIPLEX, FONT_HERSHEY_COMPLEX_SMALL, FONT_HERSHEY_SCRIPT_SIMPLEX, orFONT_HERSHEY_SCRIPT_COMPLEX,以上所有类型都可以配合 FONT_HERSHEY_ITALIC使用,产生斜体效果。
- fontScale – 字体大小,该值和字体内置大小相乘得到字体大小
- color – 文本颜色
- thickness – 写字的线的粗细,类似于0.38的笔尖和0.5的笔尖
- lineType – 线性.
- bottomLeftOrigin – true, 图像数据原点在左下角. Otherwise, 图像数据原点在左上角.
示例代码
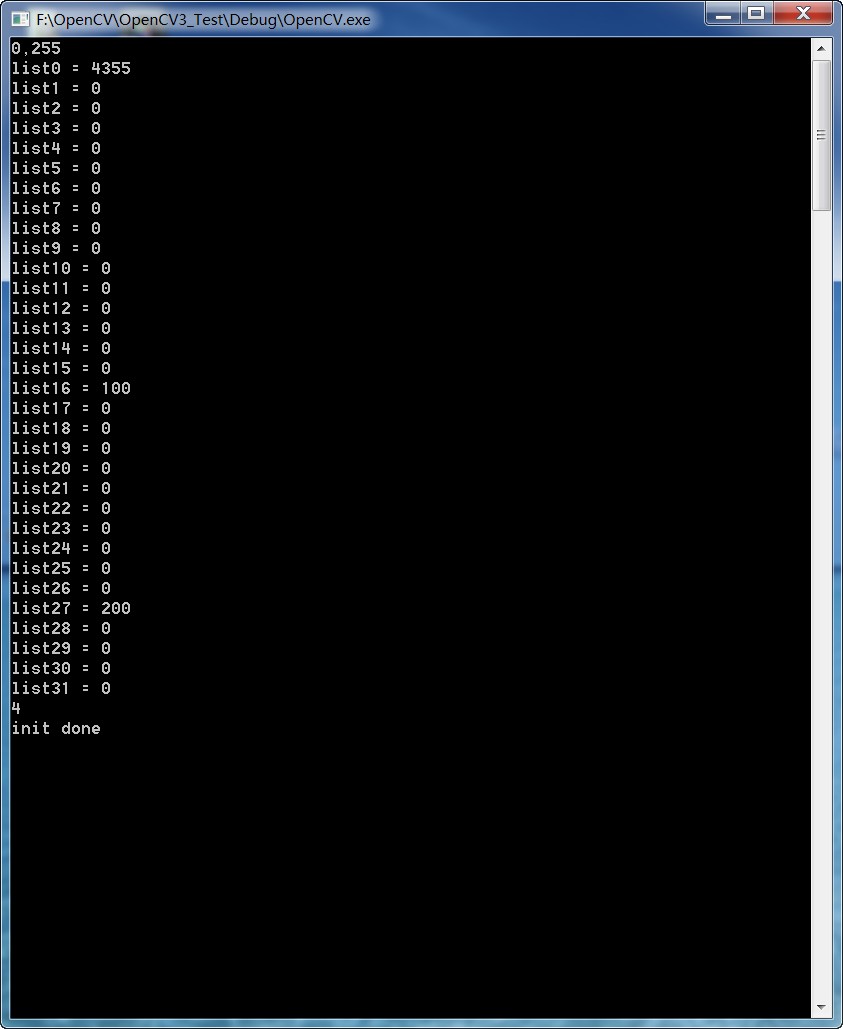
实验结果


转自
http://blog.csdn.net/ubunfans/article/details/24421981